

How To Undo Action In Photoshop Cs6
When working on an image in Adobe Photoshop, it's inevitable that you're going to need to undo something you have done within your image. Whether it'south because you've made a mistake, inverse your listen, or just need to fine-tune adjustments you have already made, knowing how to go back and disengage is essential. On the surface undoing changes in Photoshop might seem uncomplicated, but there are a number of different means y'all can undo, go back and update changes you've fabricated to your image. Today we're going to look at the different disengage options in Photoshop and nosotros're also going to expect at how to plan ahead when you are editing in order to make undoing easier.
Table of Contents
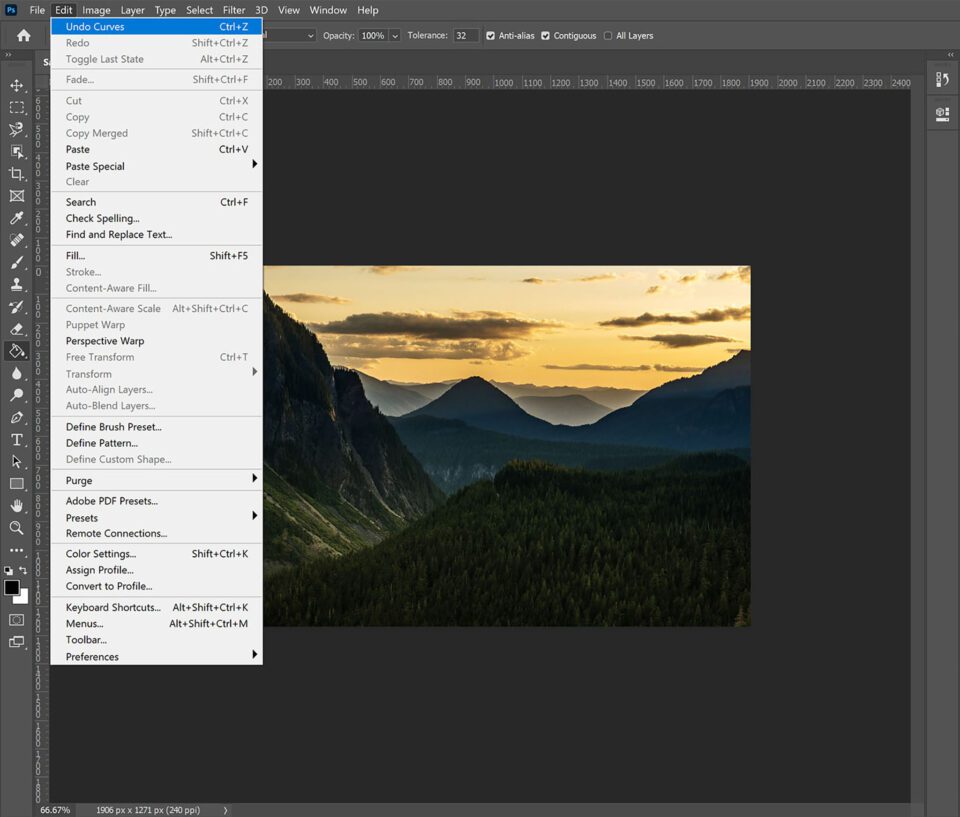
Edit-Undo (Control/Command + Z)
The simplest and nearly obvious way to undo changes you have made to a document in Photoshop is by selecting Undo from the Edit Menu. Undo is the very showtime option in the Edit Card and yous tin can make this even easier and more efficient by using the keyboard shortcut Command-Z (Mac) or Control-Z (Windows).
If you only e'er learn i keyboard shortcut in Photoshop, it should be this one. It's quick, easy, and something you will discover yourself using repeatedly. Going to the Edit Menu to undo volition ho-hum down your workflow considerably. Especially when yous are using tools like the Clone Postage or Healing Brush tools, beingness able to quickly Control/Command + Z to undo will save a lot of time.
You will likely recognize both the keyboard shortcut and the position within the Edit Bill of fare, as this is fairly standard across most major software programs. As in most electric current software programs, continuing to select Disengage (or repeatedly using Command/Command + Z) will permit yous to step back through the changes you have made to your document.
Likewise in the Edit Menu yous have the option to redo your previous disengage, or y'all can redo using the keyboard shortcut Shift + Control + Z (Windows) or Shift + Command + Z (Mac). Photoshop as well offers the option to "Toggle Last Land" which allows y'all to speedily evaluate the effect the last alter you lot made has on the overall image. While this could be accomplished past alternating between Disengage and Redo, if yous are using keyboard shortcuts and so using Command + Alt + Z (Windows) or Command + Option + Z (Mac) is a slightly simpler means of toggling your last change on and off.
Legacy Undo Shortcuts
If you are a long-time Photoshop user then you already know that in the past the Undo command functioned differently than it does in the current version of Photoshop. Prior to Photoshop CC version twenty.0 (released in late 2018), the Disengage control functioned the same mode Toggle Last Land works in the current version, and Adobe offered the pick to step astern as a separate command. Step backward functions the same mode undo does in the current version of Photoshop.
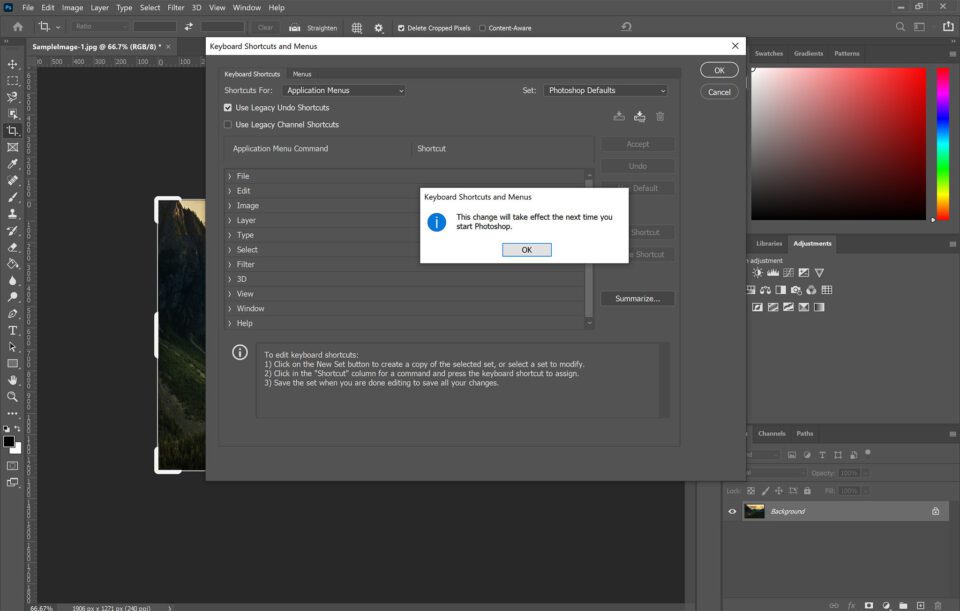
Both the power to undo multiple changes (or step backward through the history states) and the ability to toggle the well-nigh recent alter on and off are undo features that photographers use frequently in Photoshop. The original decision as to which way the disengage command was going to function was debated amid Adobe engineers, with the toggle function ultimately winning out. But since almost every other modern software programme offers an undo function that allows you lot to step backwards multiple times, Adobe's determination to update the functionality to reverberate mod standards makes sense. However, if you prefer the previous undo functionality, either because that is what you are used to or considering it makes sense within your workflow then you have the option of setting your preferences to use the "Legacy Undo Mode".
To plow on legacy disengage functionality, become to the Edit Menu. Select Keyboard Shortcuts, and in the dialog box select "Use Legacy Undo Shortcuts". You lot will then need to restart Photoshop. With legacy disengage shortcuts turned on, Command/Control + Z will now toggle the concluding alter y'all made on and off, and Alt + Command + Z (Windows) or Command + Option + Z (Mac) volition now Step Astern (though the history states).
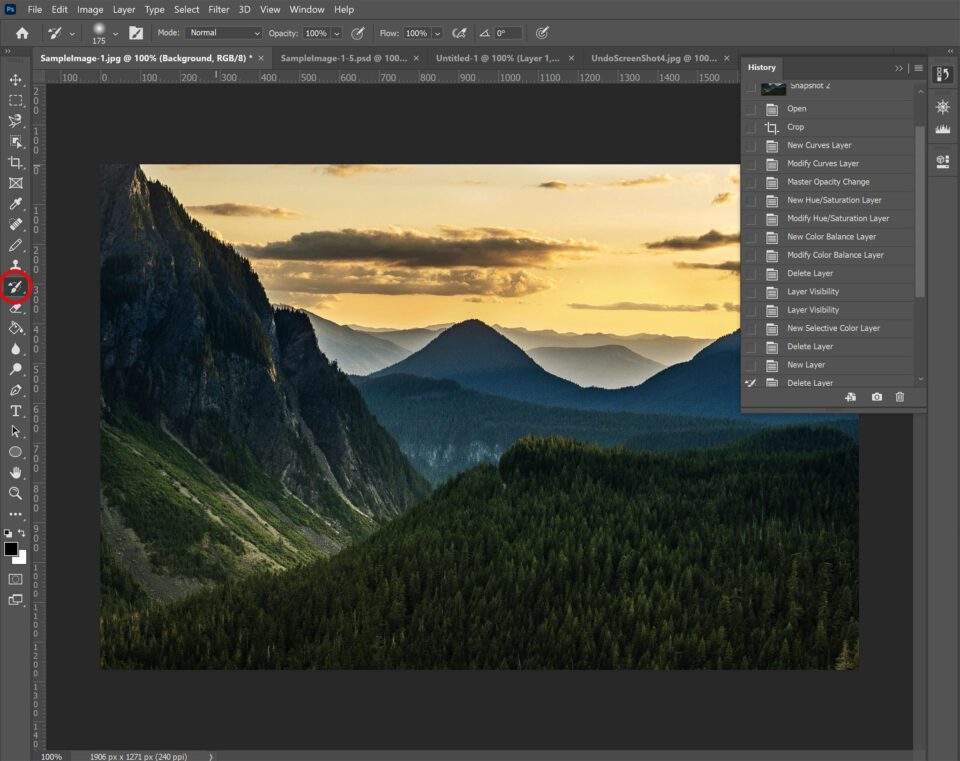
The History Panel
To speedily undo the concluding modify or two yous have fabricated to your image in Photoshop, using Control/Command + Z (or selecting Undo from the Edit menu) is fine. Just when y'all need to make changes that go dorsum more than a few steps, you lot want to look to the History Console. Under the Window Menu select History to bring up the History Panel. As far equally Photoshop panels go, this one is adequately straightforward. It provides a listing of history states, or changes you have fabricated to your document.
As yous edit your image, the changes you make volition appear in the history and you can simply click back on any change to revert your image back to that point in time. While this technically could be achieved with the undo function, if y'all need to disengage a large number of changes it tin be washed with one click on the History Panel.
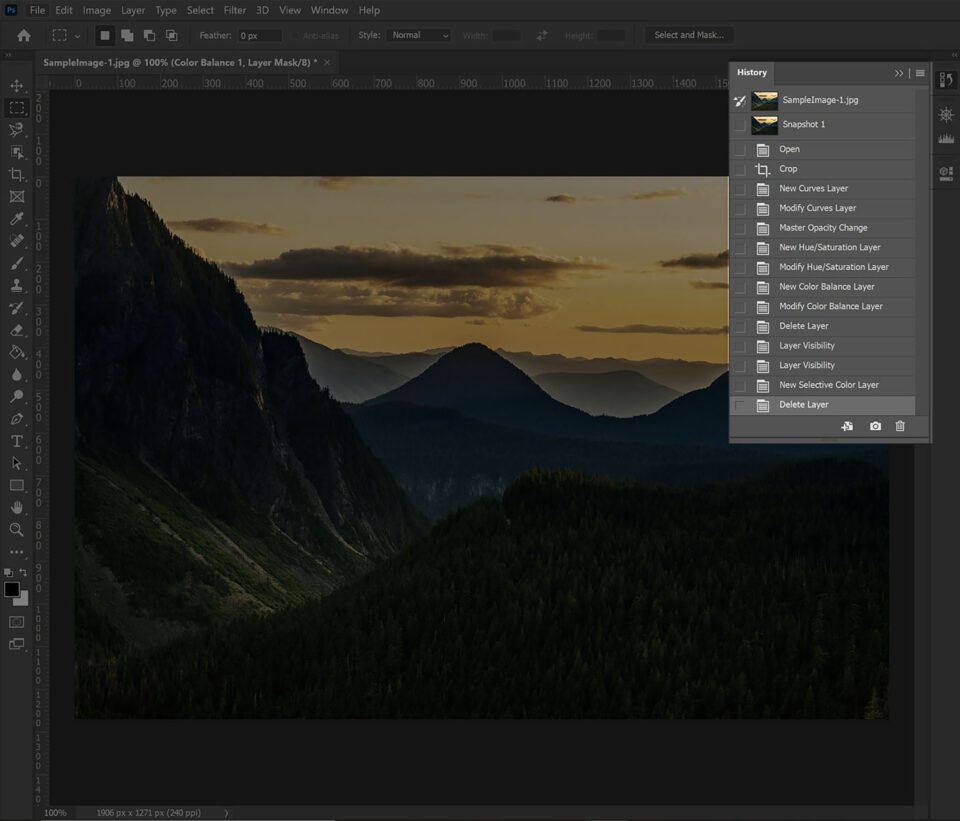
But more than just being an efficient way to undo multiple times, the History Panel offers some additional functionality. In this window, y'all are able to fix the history state for your History Castor (meet below), and also brand point-in-fourth dimension snapshots of your paradigm. Selecting the camera icon in the photographic camera icon in the bottom correct corner of the History Panel makes a snapshot of your paradigm. Substantially a snapshot is a bookmark of a betoken in the history of your image. Snapshots announced at the top of the History Console and clicking a snapshot reverts the document back to that betoken in time. Creating snapshots before you make multi-step changes to your image gives you a very quick mode to undo if you aren't happy with the results. And creating multiple snapshots and clicking between them is a very fast manner to compare and evaluate your image edits.
Past default, the History Panel will record 50 history states. This sounds similar a lot, only when you lot are painting, using the healing brush, or cloning, for example, each click or castor stroke is a separate history state, in which case fifty is not as many as it might seem. You lot tin can prepare Photoshop to call up more history states (Edit-Preferences-Performance) but be aware that increasing the number of history states volition impact the performance of Photoshop (conversely, if you are running Photoshop on an older or slower machine you might desire to subtract the number of history states to help improve operation). This is another reason snapshots can be useful, your snapshots can give you the ability to disengage to a point farther back in history than your history panel would otherwise permit.
It's important to understand that snapshots and history states (and subsequently the ability to undo) are stored in Photoshop's working memory and are not saved with the file. One time yous close an image and/or close Photoshop yous lose those history states and tin can no longer undo previous changes. This makes the techniques we will expect at afterwards in the article for working non-destructively all the more of import!
History Brush
The History Brush is a tool that lets you undo changes to only a select portion of your prototype. If you adjust the brightness of your image, for case, and you similar the effect on nearly of the epitome but not in the heaven, you can use the History Brush to disengage only in the sky portion of your image.
To use the History Brush, you lot outset need to select how far back you want to go in your modify history. Merely to the left of each history state in the History Window there is a box. Click next to the history country you lot want to revert back to and a brush icon will appear.
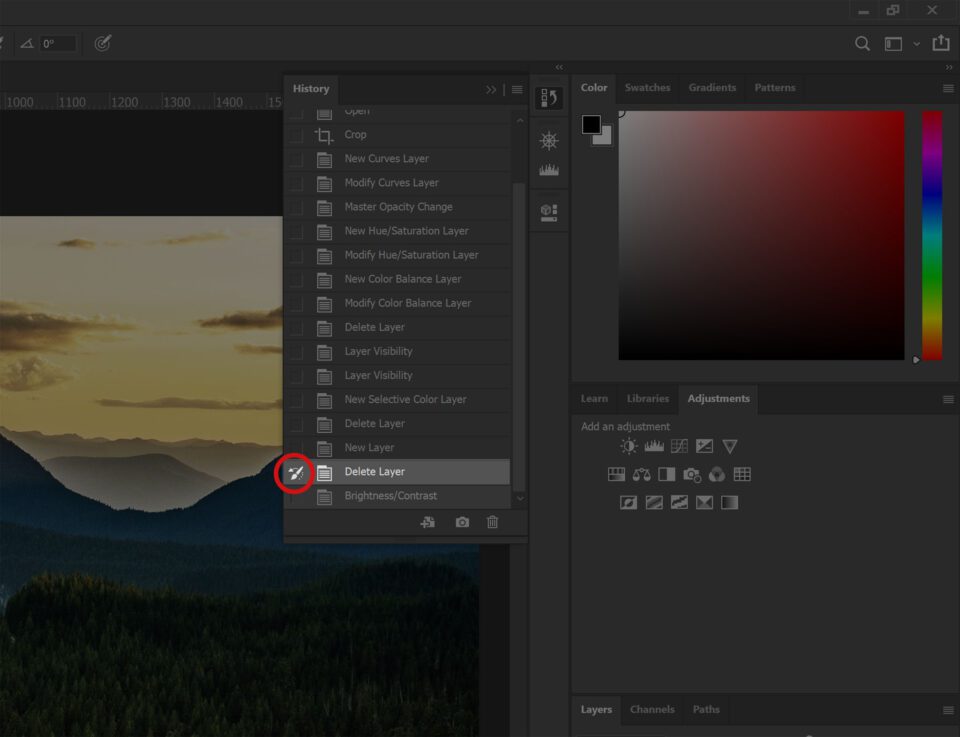
Then select the history brush tool from the Tool Console and paint over the part of the image you want to disengage. Because the History Brush is a brush tool, y'all can adjust the size, flow, opacity, hardness, and blending mode.
Non-Subversive Editing
The biggest limitation of disengage (and the History Console) is that undo is a liner. You are stepping back in fourth dimension through the changes you lot have made. If you make a fault and don't realize information technology until later, then in order to undo that mistake you accept to disengage everything that came afterward that too. Depending on when you notice your mistake or realize you need to change something this could range from mildly irritating to extremely frustrating and time-consuming. And that assumes you realize your fault before you close your prototype, or shut down Photoshop because once you leave the session you are working on you no longer have the pick to undo.
This is where the idea of working non-destructively comes in. Making changes directly to an epitome is considered working destructively, because the changes permanently modify that file. Non-destructive editing is making changes to an paradigm in a fashion that it can be undone or changed after. It is possible to employ layers, and adjustment layers in a way that makes disengage/redo/ and making changes extremely simple. And different history states, it is possible to save your image with the layers intact, which allows you lot to brand those changes fifty-fifty after closing and reopening an image. If yous aren't familiar with what layers are and how they work in Photoshop then you volition desire to cheque out Spencer'due south article explaining layers, adjustment layers, and layer masking as these make up the nuts of non-destructive editing.
Layers
Someday y'all are making major changes to an image you desire to make those changes on a new layer. You lot want to be somewhat judicious with your use of layers, as they will increase your file size and equally a result can impact Photoshop'south performance on an older and slower machine. A good rule of pollex is that if you lot are making changes that would have more than a minute or ii if y'all had to redo them, use a new layer. When changes are isolated to their own layer, you have the power to adjust them, reduce the opacity and even delete the layer (substantially disengage those changes) without affecting any other changes you accept made to your prototype.
The very first step yous should make when opening an image in Photoshop is to duplicate the background layer. This ensures that you are working on a copy and you can always get back to your original image. But y'all don't want to make all your changes to the same indistinguishable layer either. If you are cloning or using the healing brush or patch tools you desire to work on a separate layer so that you tin can easily undo/redo/mask your changes.
Side by side to every layer in the Layers panel, in that location is an heart icon. Clicking this icon volition make the layer invisible. Toggling the visibility of a layer allows you to find the effects of the changes yous have made (similar to the "Toggle Last State" Control) without needing to permanently decide which country you are selecting. If you are unsure well-nigh a change you can leave the layer invisible and return to it afterward, while toggling the terminal land requires you lot to brand a decision at that moment. The disengage toggle also only allows you to run across the last modify you have made, whereas layer visibility allows you to meet all of the changes that are part of that layer.
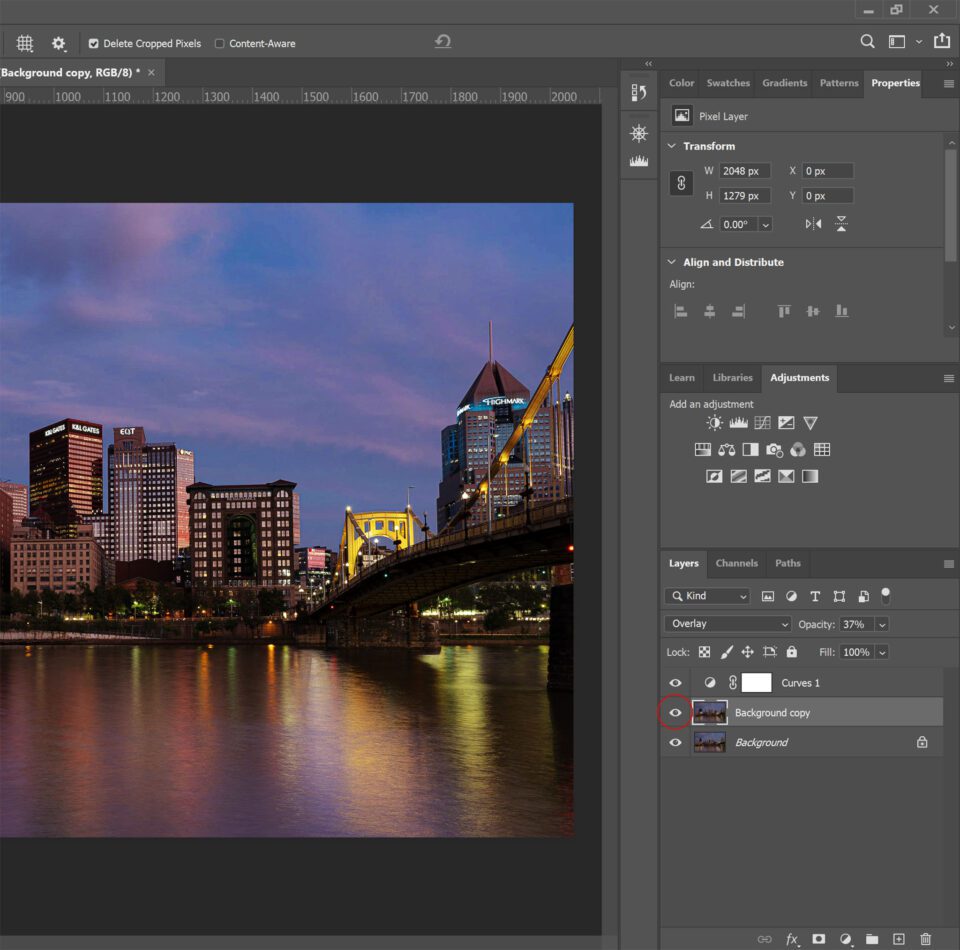
Adjustment Layers
When making adjustments to your image, all of the tools found under the Image-Adjustments Menu are bachelor as adjustment layers. If you apply a change using the Epitome-Adjustments Bill of fare, information technology makes the change directly to your prototype. If you make the same modify using aligning layers (if the Adjustment Layer Panel isn't already visible y'all can select it from the Window Menu), you can make the exact same adjustment merely on a separate layer. Adjustment layers let you to apply layer masks, adjust the opacity, delete an adjustment altogether or become back and make changes to the aligning at whatever betoken, even after you lot have gone on to exercise other things within your image.
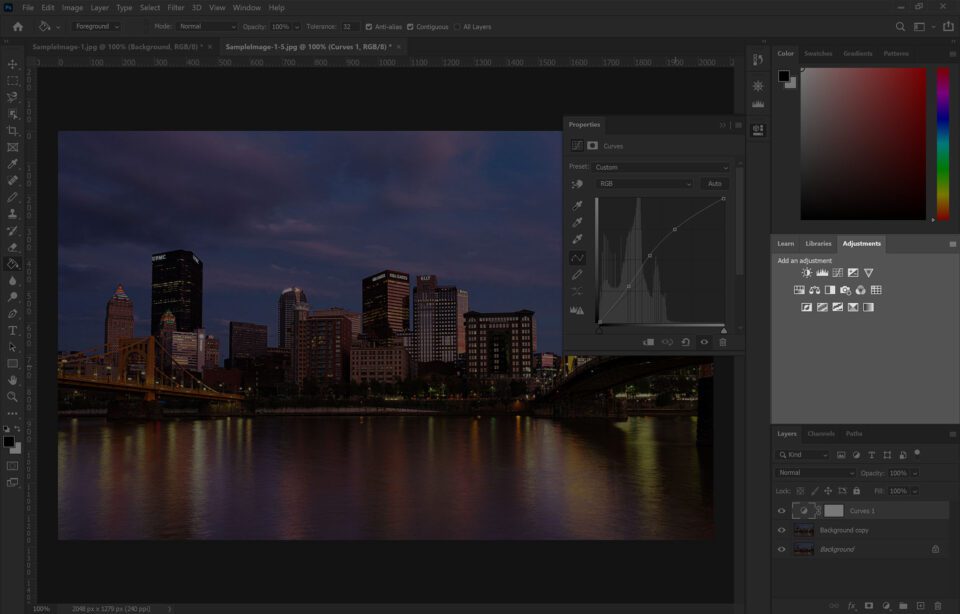
At that place are no downsides to an adjustment layer and a lot of upsides. It is very common to suit the brightness, saturation, levels, curves, etc. and realize later that you demand to change those adjustments. Adjustment layers let you brand those changes at whatsoever time without having to undo any other changes you lot have made to the image.
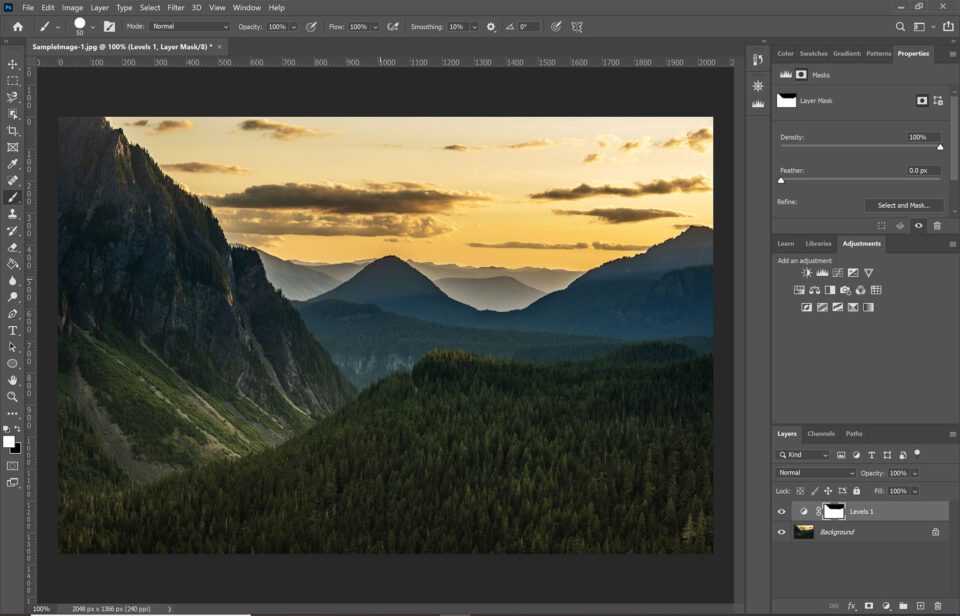
Layer Masks
A layer mask allows you to hide or reveal changes you have fabricated to only a portion of your paradigm. You can employ a layer mask to whatever layer, and adjustment layers already accept (empty) masks applied to them by default.
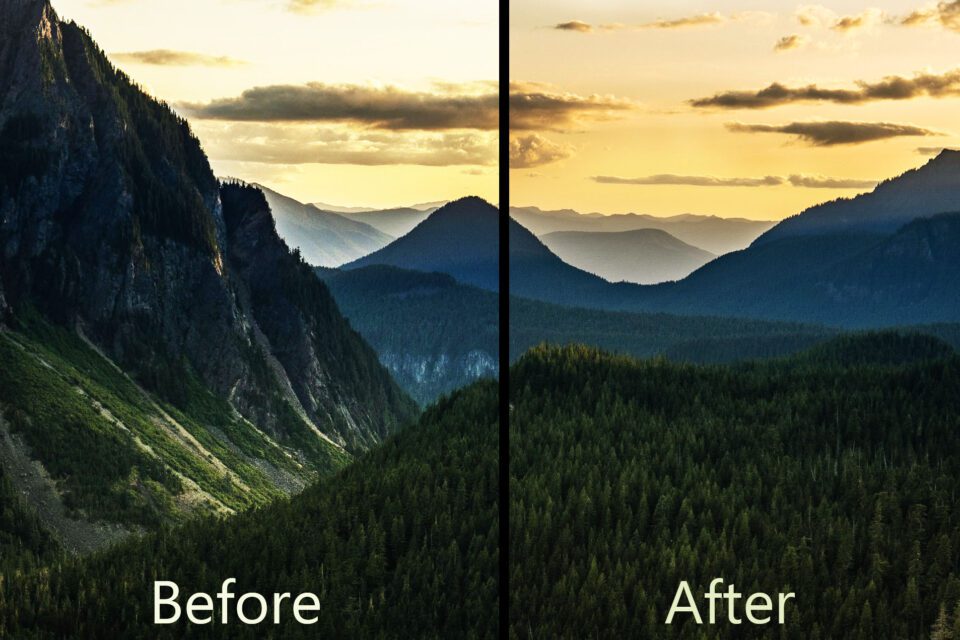
In the History Castor case above I brightened the image and then used the History Brush to undo that exposure modify simply on the sky. While this method works, it's an example of subversive editing. The better, non-destructive mode to do the same thing would be to darken the image using an adjustment layer and so utilize a layer mask to exclude the heaven from the changes. Different the History Brush method, layer masks can be adapted at any time.
Conclusion
Photoshop gives you many options for undoing changes you take made to your epitome. The quickest way to stride-astern through contempo changes yous have made to an image is to utilise the keyboard shortcut Command/Command + Z. Unless you are using an older version of Photoshop, this shortcut will allow yous to undo multiple times, working backward through the changes you lot have fabricated. If yous need to become dorsum father in your modify history you will want to use the History Panel which allows you to undo multiple steps with a single click. The History Panel also allows you to select a history country for utilise with the History Brush. With the History Castor tool, y'all tin undo changes to only a section of your image.
While a quick Control/Control-Z is useful for firsthand mistakes, the most efficient manner to make changes farther dorsum in history is to apply layers and aligning layers to program ahead and work not-destructively. When edits are isolated to their own layer or an adjustment layer you tin can merely delete that layer and go on all the other changes you have made to your prototype (regardless of when you made them). Planning ahead and using masks, layers, and adjustment layers let you to make changes in a way that is much more than efficient than the standard undo.
Source: https://photographylife.com/how-to-undo-redo-in-photoshop
Posted by: woodmanseenevolly.blogspot.com
0 Response to "How To Undo Action In Photoshop Cs6"
Post a Comment